
Our laundry room has been untouched since the house was built over a decade ago. I wanted to do something fun with the small space, especially since it’s at the top of the landing. So with peel and stick tiles, paint and some wood, I brought my dreams to life! This was definitely one of my more cost effective projects and I’m so excited to share it with you!
Planning
As I’ve talked about in past posts, planning is a huge part of my process. I peruse Pinterest mainly, looking for ideas and inspiration. I finally stumbled up on this picture and knew I wanted to recreate it in my own space, in my own way, and on the cheap.

There are a few key elements I wanted to replicate and it’s important to zone in like this. You may love an image of a living room you found on Pinterest, but it can feel overwhelming to recreate if you don’t break it down. So the elements I look to mimic and the ones I found in the above image:
- Flooring (this could be tile, carpet, wood OR if that’s not in your budget, look for a rug that closely matches).
- For me in this project, this was the checkerboard tile.
- Walls (is there trim or moulding on the walls? What paint color or wallpaper design is used?).
- In this project, I was mostly gravitating toward the green color.
- Decor/Furniture (what is the theme of the decor, what colors are used, what is the layout, etc.).
- For this image, I loved that the laundry machines had a space for folding.
So with these elements in mind, I knew I’d need paint, peel and stick tile and a wood tabletop.
Materials Prep & Purchase
So now that we know what we’re going to do (paint, tile, build a tabletop), it’s time to start planning purchases.
Walls
I’ve talked about how to measure for paint in past posts, so I’ll skim lightly here. You’re basically just going to measure each of your four major walls in the room and the height from floor to ceiling. By multiplying length x width, you’ll get the square footage of each wall. Add the four walls up and you’ve got the amount of paint you need! Check the specific paint you’re looking at to see how much square footage the gallon will cover. I don’t worry too much about removing windows/walls because that will give you some buffer room.
And in terms of paint color, I like to use Pinterest for this again. The AI renderings of the paint color from the store websites is very meh at best. I like to search for the paint color I’m thinking about in Pinterest and see real life examples. Sometimes, it can be hard to find an example of the color you like, so I just choose to trust my instincts haha.
Flooring
In this laundry room flip, I chose checkered peel and stick tiles. I chose these ones from Amazon because 1. they’re relatively inexpensive and 2. I think they look amazing. The process of laying them was really easy (especially because they’re just squares). I wrote another blog post about my extensive tile laying process here.
Once you know which tile you want to use, you need to measure the room to know how much to get! Following the same process as the paint measuring above, measure the length and width of your room. Then multiply together to get the square footage. The tiles you purchase should tell you how many square feet a single box can cover.
Decor
Like I mentioned, I wanted to have a spot to fold my laundry when it was ready, right there in the laundry room. So my husband whipped up a tabletop for me! The planning was pretty simple – with our machines in place, we measured the length and width of a countertop that would cover the tops of the machines without hanging over the buttons. The told us how many boards we needed and then we also purchased 2×2 little boards to act as support beams.
Before:

Implementing!
Now that you’ve got your paint, tiles and materials, it’s time to get implementing, I like to paint first, then lay tile, then do the decor. Since the tabletop requires assembly, this is the time to do that. My husband built ours following this easy video on Youtube.
For the tile, I also recommend caulking the seams to help close the gaps and cover any edge mistakes. It makes the floor look professional!
At this time, I decided I wanted a tile backsplash. It’s really really not necessary. So if you’re on a budget, I recommend skipping. However, I bought these tiles on Amazon, caulked the edges and painted to give a professional and clean look.
And one final note on the walls, I decided to color drench. So I painted the ceiling and the trim in a flat sage green.
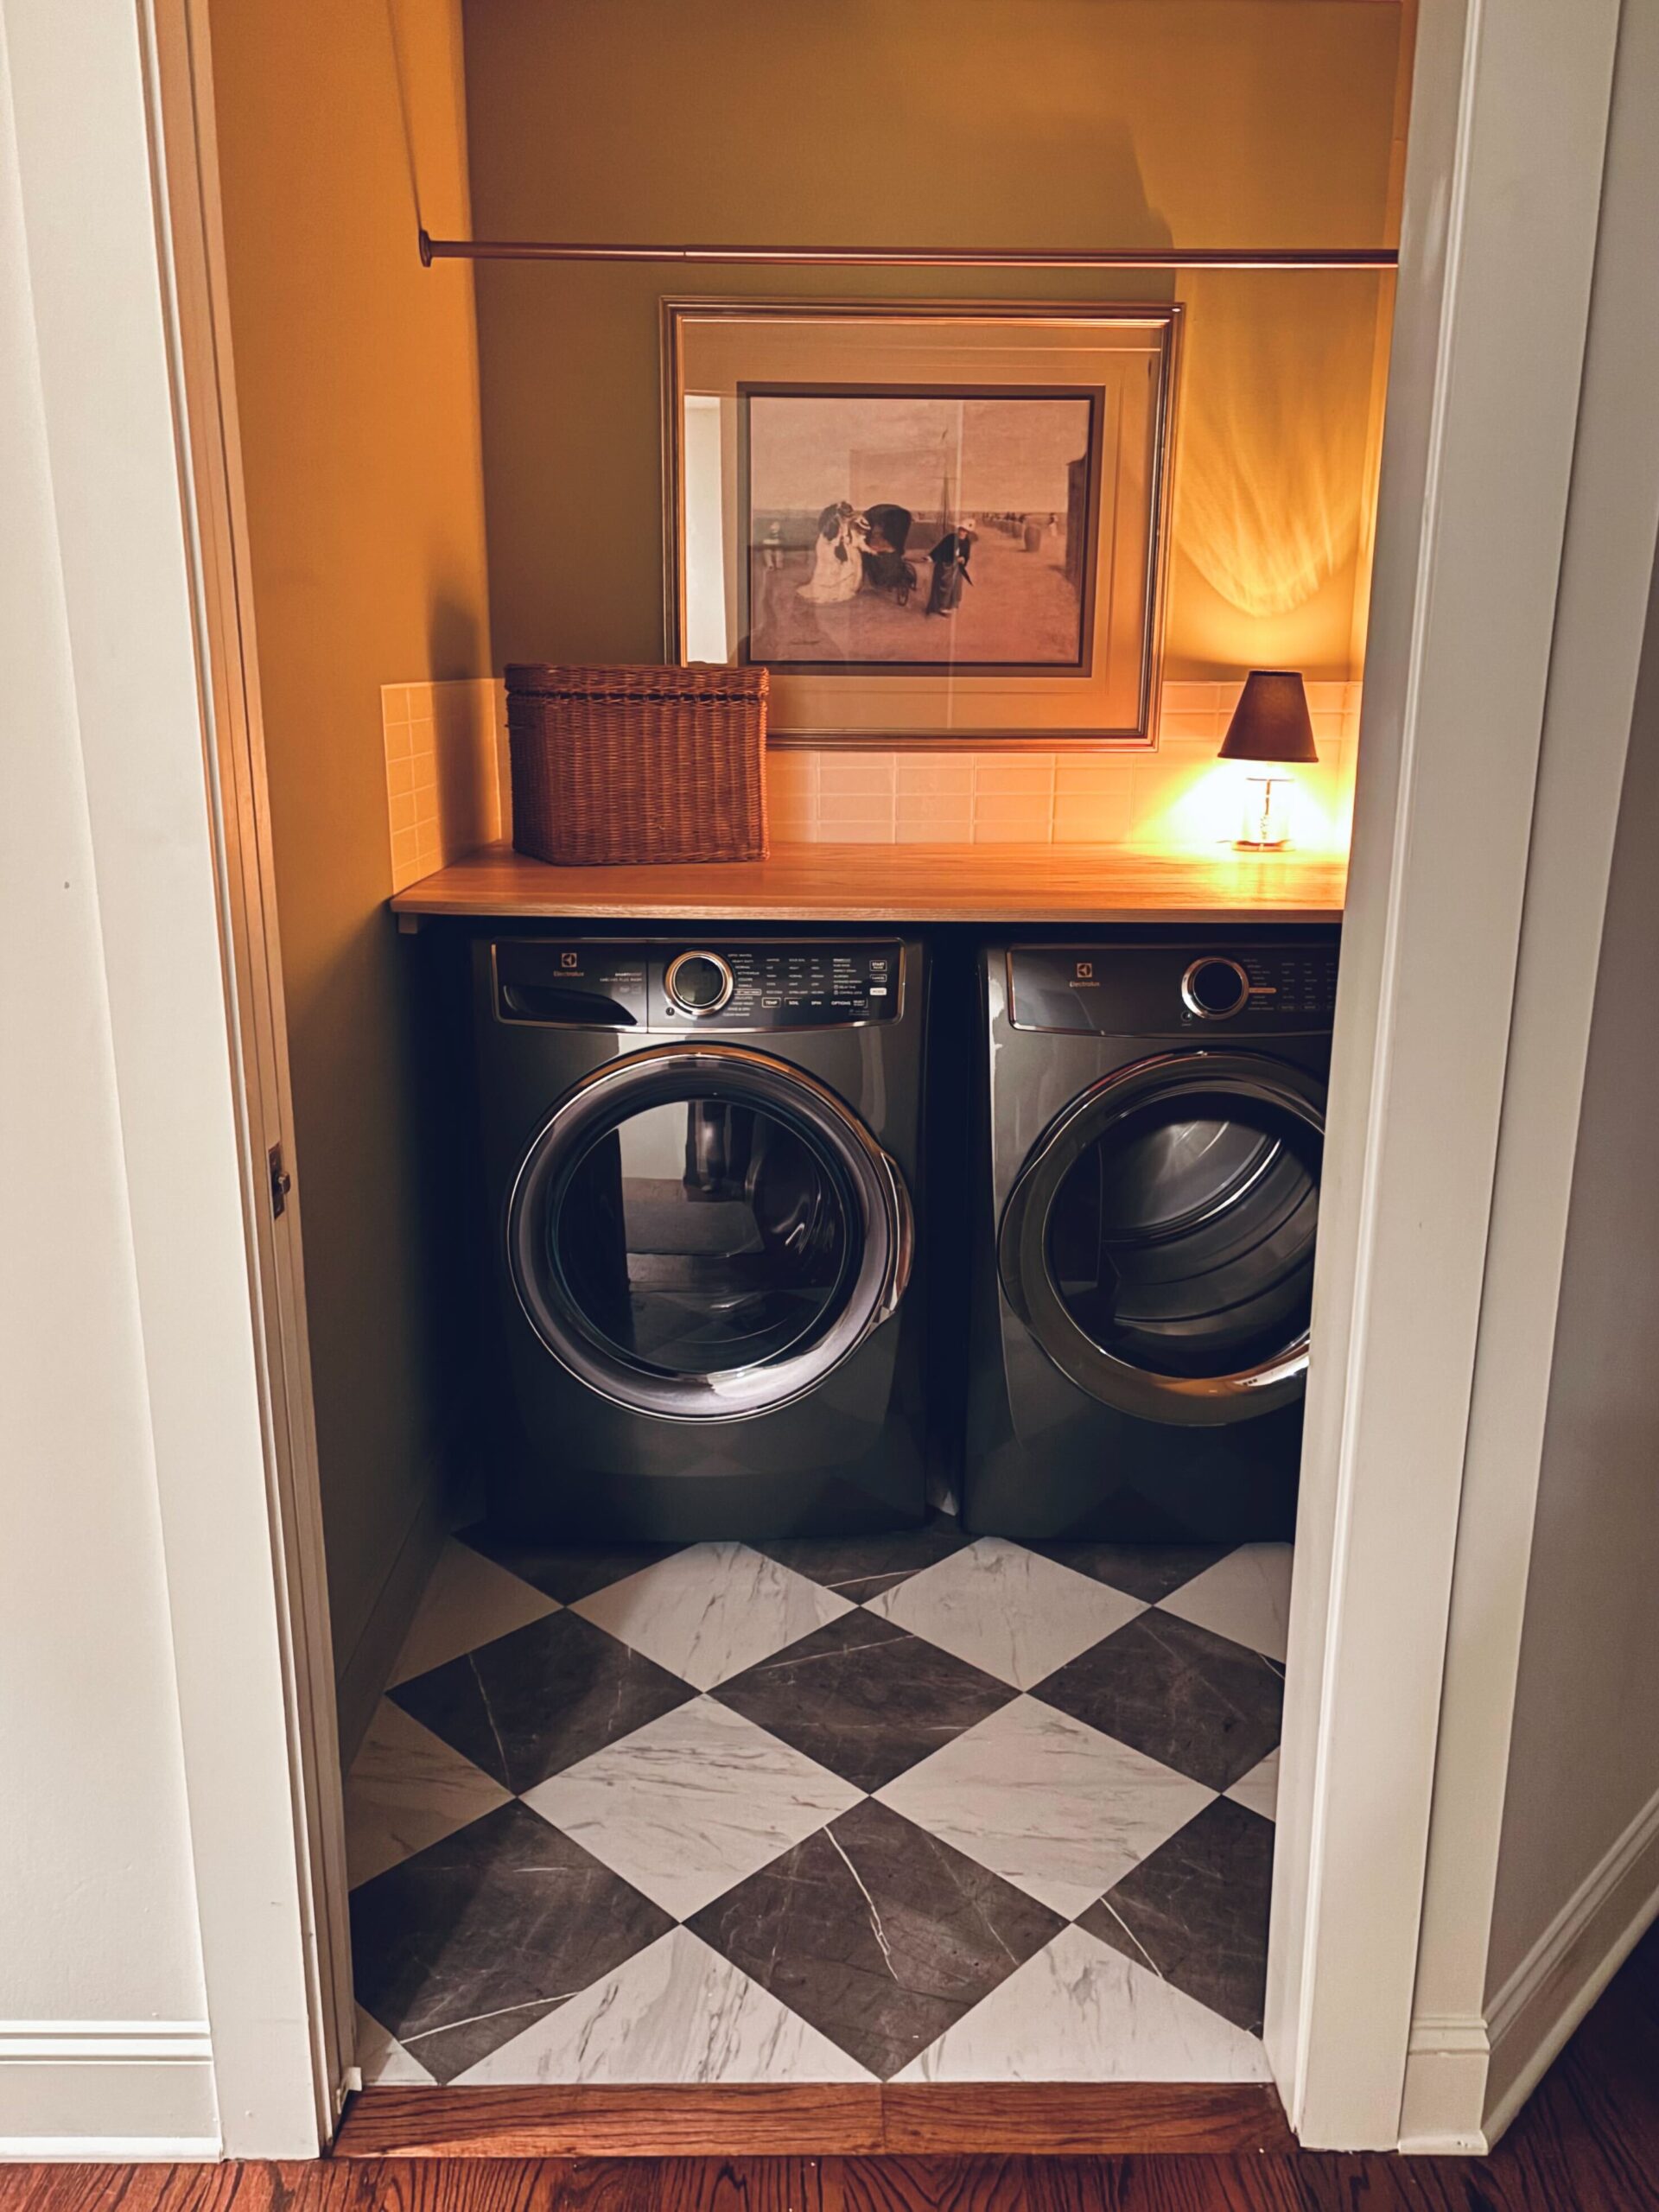
After:

Congrats!
Now you’re done and your laundry room looks like an art piece more than a place for chores! Since flipping our laundry room, I find myself getting so excited to fold laundry on the tabletop, it makes me feel so put together! If you decide to use my advice in this post, share pics! And as always, let me know if you have any questions!
