
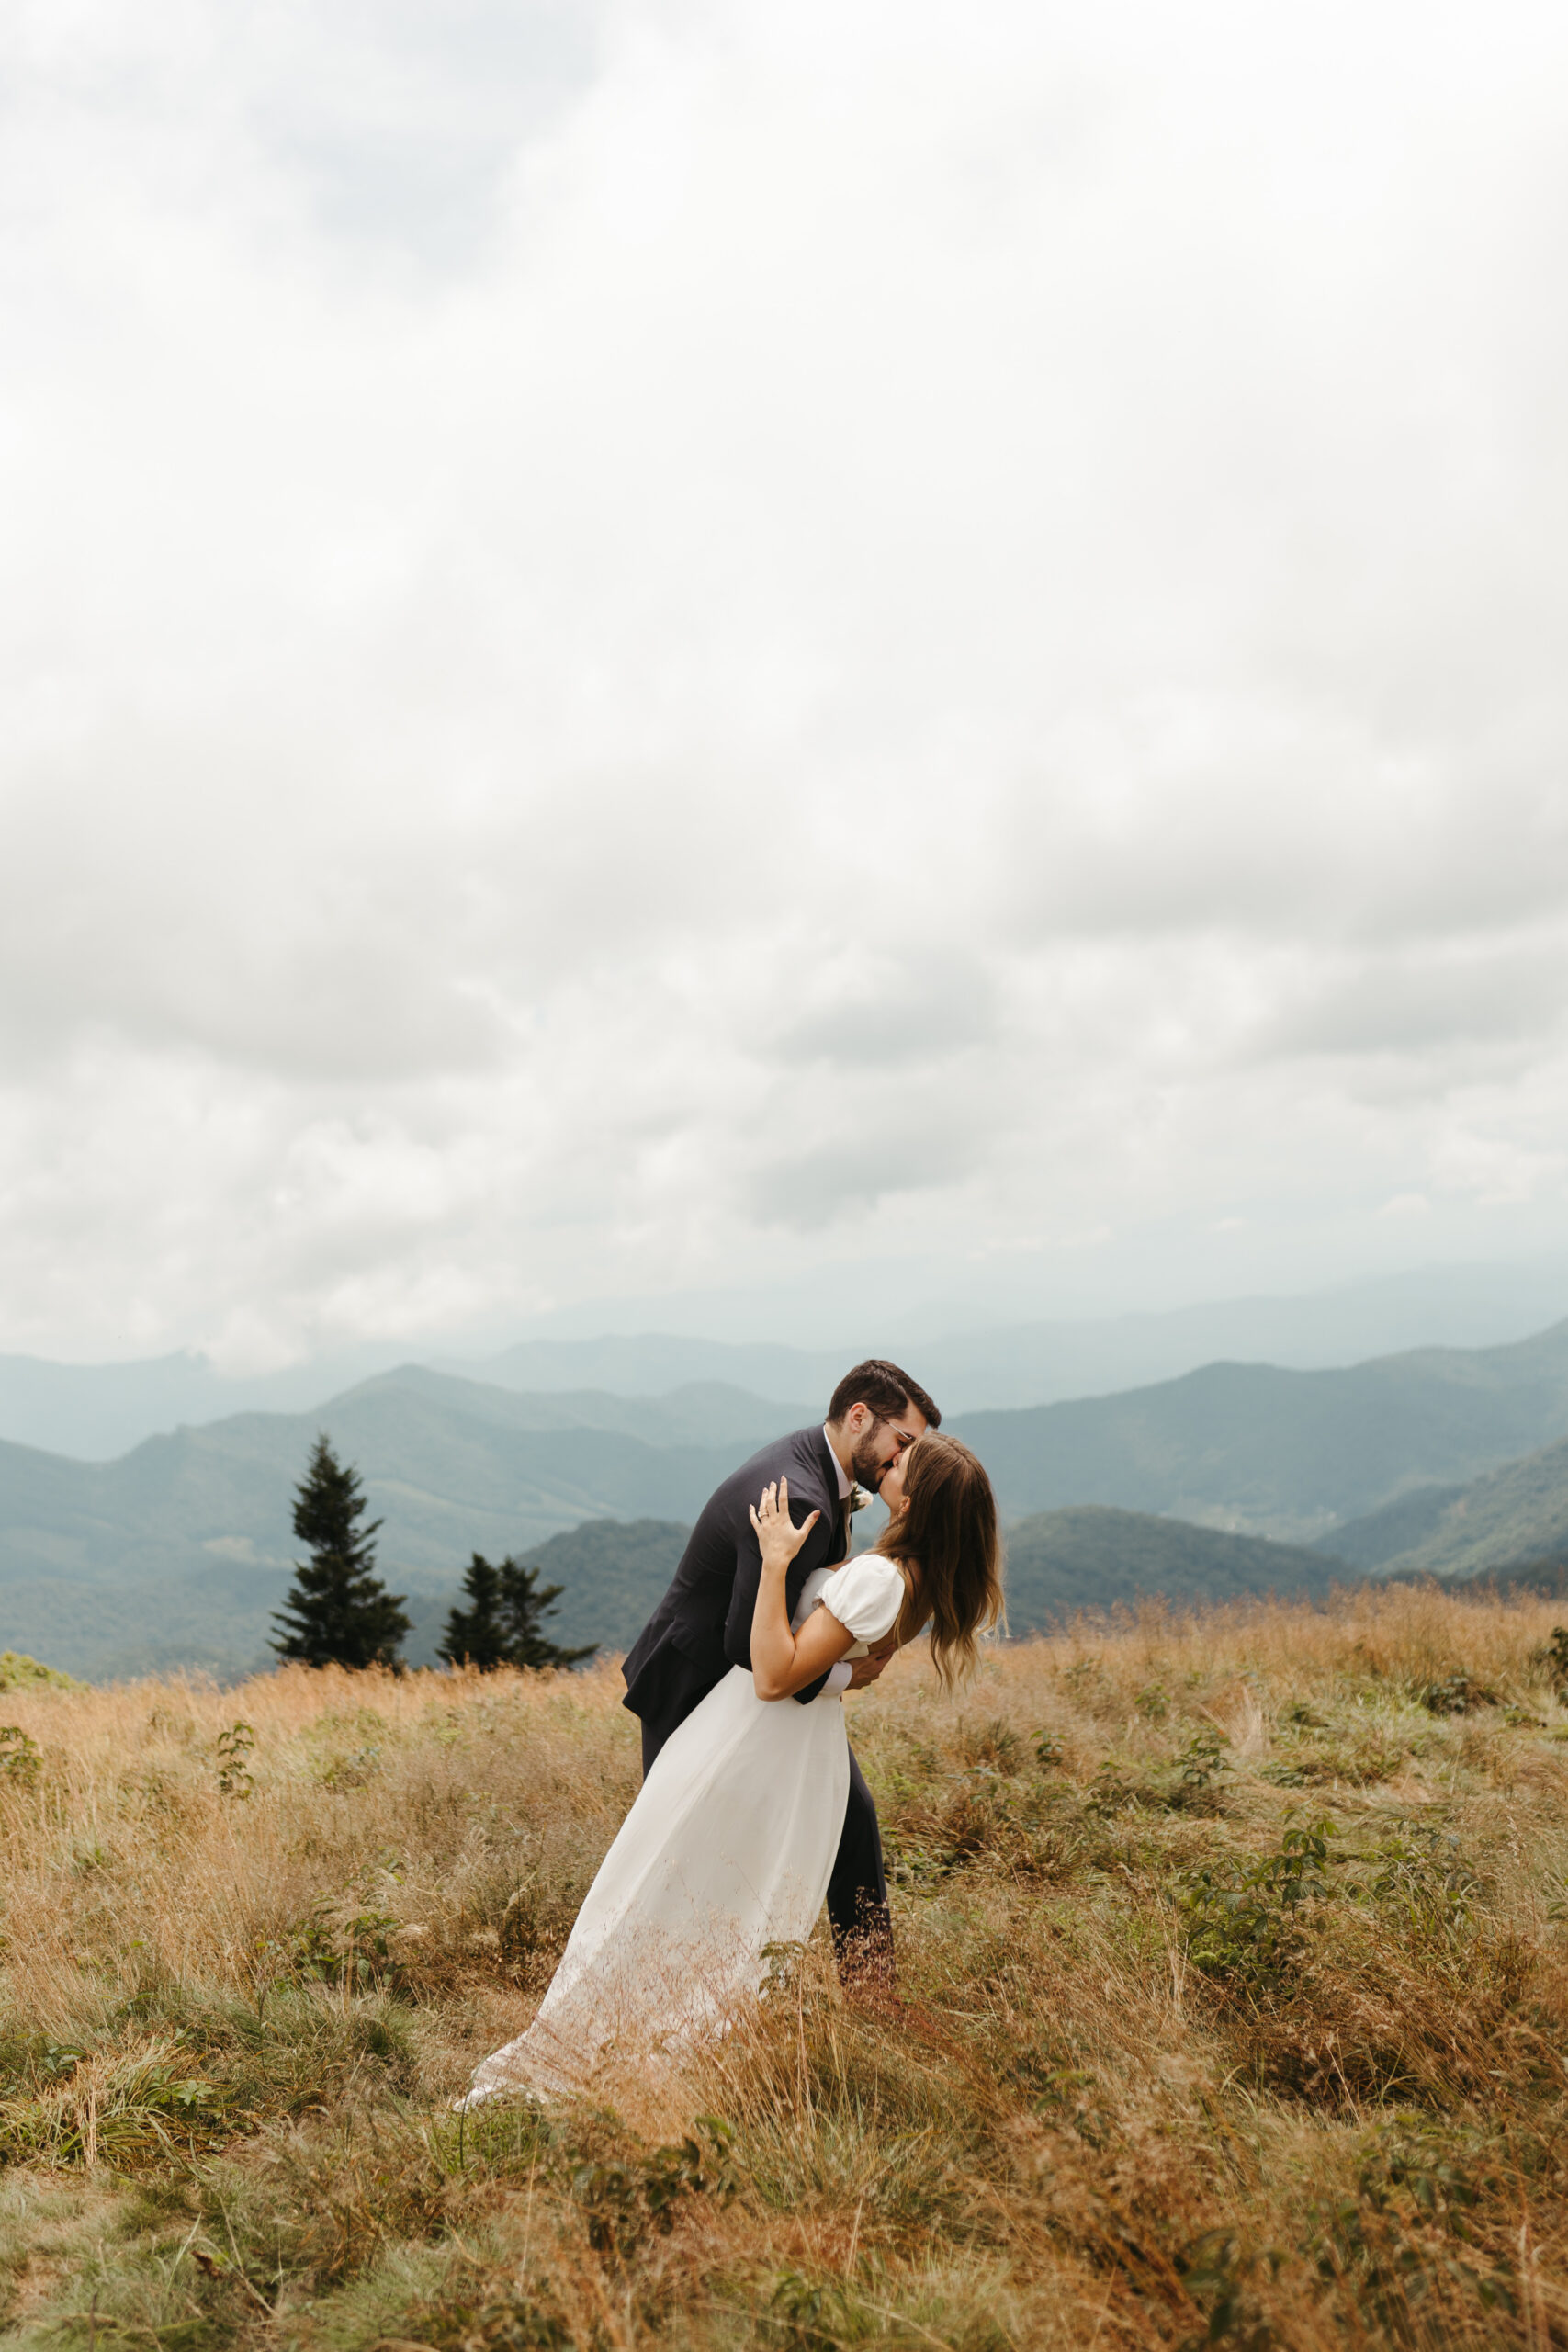
My husband and I got married atop a mountain on the Appalachian Trail! We were drenched from the rain and surrounded by our family members! Our micro-wedding was so amazing and everything I pictured it would be. I partly have myself and the resources I made to make sure everything was taken care of to thank!
When we first got engaged, we had a whole big wedding planned out and all of our deposits paid. But then we hiked Roan Mountain and decided we absolutely could not do the big wedding and needed to elope there! Switching gears from planning a big wedding with a coordinator to planning a micro-wedding on my own was intimidating! But I did a ton of research (I was engaged for two years!) and created a ton of documents for myself and everyone involved. Thanks to all of that meticulous planning, our wedding went entirely off without a hitch!
If this sounds like a boat you’re in, follow along to see how I planned all of this. With the help of my amazing husband haha.
Getting Started
Ah, you’re engaged! Congrats! Whether you’re just poking around with curiosity about micro-weddings or you’re ready to commit, you’ve gotta start somewhere! I recommend starting with a hub. If you’ve followed along on my posts and read my last one about how I use Notion for everyday, you know I love a hub.
This is the hub I created for my own wedding. It helped me to track all of the possibilities for venue, food, etc. I also used it to track income and expenses to make sure we were staying within budget. And lastly, I kept track of all the gifts we received and the thank you letters we sent.
You’d be so surprised how randomly you receive wedding gifts throughout your engagement! The influx after the engagement, any showers or celebrations and of course, the wedding day itself. This tracker was so helpful to make sure we didn’t forget anybody from the two years we were engaged!
And in true “me” fashion, there is a hub sheet that shows a round up of income vs. expenses and all other high level callouts from wedding planning.

Planning
Now that you’ve got a spot for tracking everything wedding related, I would recommend switching to a check list view. This is the entirely comprehensive micro-wedding planning check list I used from the start of our engagement up to the day of the wedding.
Some of the top items you’ll want to get started on sooner than later is
- Come up with a rough guest list to know what size venue you’ll need and what kind of meals you can afford
- Book the venue! You can always find a caterer or food source, but your dream venue may not be available any time!
- Find a caterer or restaurant for your wedding
- Then you can do the other fun stuff like dress shopping, designing invites, planning the tablescapes, etc.

First Dance
Something we got a bit of a head start on was our first dance. We chose to have a choreographed dance, but wanted to be so good at it that we could chat and laugh while doing it without needing to focus too hard! We went to a local choreographer and learned our dance over the course of 8 sessions and had 1 fine tuning dance a month before the wedding.
However, our choreographer only gave us a handful of moves to do during our dance. But 1. I am too type A for that and 2. I cannot dance to save my life, so I wanted something more structured instead of just hoping I understand what’s happening in the moment haha.
So, anyway, I created this tool to plan out the entire dance, accounting for box steps, spins, and the beat of our song. The dance moves we learned leaned toward rumba. So if that’s something you’re planning, this may be a great resource for you!

Timeline Planning
Another important thing you’ll need to hash out somewhat earlier in the process is the day of timeline. It’s important to have this figured out before you book certain things because you need to be certain everything will fit into your day!
Our photographer helped us build this timeline. She and her husband, our videographer, were actually the only professionals we hired for our wedding. And it was perfect, because photographers, especially elopement photographers, are pros at this kind of thing. We wanted to get golden hour photos, but also still have dinner at a reasonable time. She helped us do a lot of ceremony planning and then we worked our way backward from there!
As a testament to this portion of the planning, we actually had the most chill day ever. We hung out in the kitchen of our Airbnb with our families, had breakfast and then slowly got ready. Everybody pitched in to make the appetizers and we ate and drank before the ceremony!
This is the timeline plan we ended up using, but I also made a backup in case of inclement weather during our ceremony time. Jokes on us though because it down poured our entire wedding day haha.

Weekend Planning & Invites
Once your wedding day timeline is planned and you’ve booked things out for that day, you’ll need to plan the rest of the week(end)! This is especially important if you’re planning a destination micro-wedding or elopement. Whether you’re having guests or not, you’ll want to enjoy and experience your weekend to the fullest!
We compiled a huge list of things available to do for fun in the area and a list of common elopement weekend activities. After some discussion and thinking through which activities worked on which days, we had a fun weekend planned for our guests! We added all of this information to our wedding invite and included a QR code for our website and a QR code for the RSVP form.

If you’re looking for another invite structure option, I also created this invite which we almost used!

Guidebooks
By now, you know your wedding weekend inside and out. But understandably, your partner may not and your guests definitely don’t! To help with this, I created this guide for myself and my husband. And we had it screenshotted in our phones for easy reference throughout the weekend. This guide included stuff like: timeline, activities, meals we planned for each day, the layout for the table settings, things we packed for different parts of the weekend, etc. This was SO helpful and made my husband a go-to that was as effective as someone coming to me.

To help keep your guests in the loop and reduce the “what time does this start?” “What are we doing today?” and other questions that can get infuriating when you have several guests and only some of them listen haha, we created this booklet. We had this booklet printed out and included it in a welcome gift bag for every guest. It also has fun stuff like “get to know your fellow guests” with fun info about everyone. We included things like “what to wear” and even couple crosswords and word searches if anyone got bored haha.

Other Planning Resources
All right, I’m going to rapid fire here because I’m realizing I created an insane amount of tools. Although you’ve timeline & activity planned, there’s so much more planning to do! Like planning for meals, photos, table settings, venue space, music, etc.
Meals & Photos
- Meal Planning – We created this document to plan out all of our meals for the week. We made all of our breakfasts and lunches and then ordered out for dinner. To make sure we had enough food to feed everyone and wouldn’t forget anything, we also created this massive grocery list! We weren’t missing anything the whole weekend, so I highly recommend stealing these resources!


- Photo Planning – we created a Pinterest board of poses we wanted to use in our photos. But we also wanted to make sure we got photos with family and recreate certain childhood photos. So, we created this resource that we shared with our photographer!

Table, Venue & Music
- Table Setting Planning – We had a limited space to set up tables and chairs, so we had to get smart with setup. Plus when the group is so small, we decided to strategically layout who was sitting where. And lastly, I had a specific vision for where candles and flowers went and how the napkins were laid, etc. I created this resource with layout, place settings and a shopping list (although we thrifted all of our decor).

- Venue Space Planning – As I’ve mentioned, we planned out our entire wedding and this included the layout of the Airbnb. There are so many factors like who’s sleeping where, how does the furniture need rearranged, where is everyone getting ready, where are cocktails/dinner/cake, etc.! I created and used this checklist to plan out how we were using the space!

- Music – My little brother was in charge of the music and he did an amazing job! To make it easier on him, we created a playlist for everything from getting ready to the procession to dinner and to late night dancing! And to make it even easier, I created this document for him to screenshot and keep on his phone.

Finishing Touches
Okay, now that you’ve planned every single detail, you’ll need to prepare the little details that will be printed out. For us, this was catchy labels for items in gift bags, wine bottle labels, bridesmaids/groomsmen/assignment proposal cards, temporary tattoos, a vision board, door labels for room assignments, table place cards, signature drink menu, audio keepsake info sheet, and thank you cards.


If you’ve made it this far, I’m impressed haha – thank you for reading! Hopefully by this point, you’re feeling a little bit more organized about your wedding. And if you choose to purchase any of these items, I’d be happy to make you a deal if you mention this blog post.
Happy planning, happy wedding & happy life!!